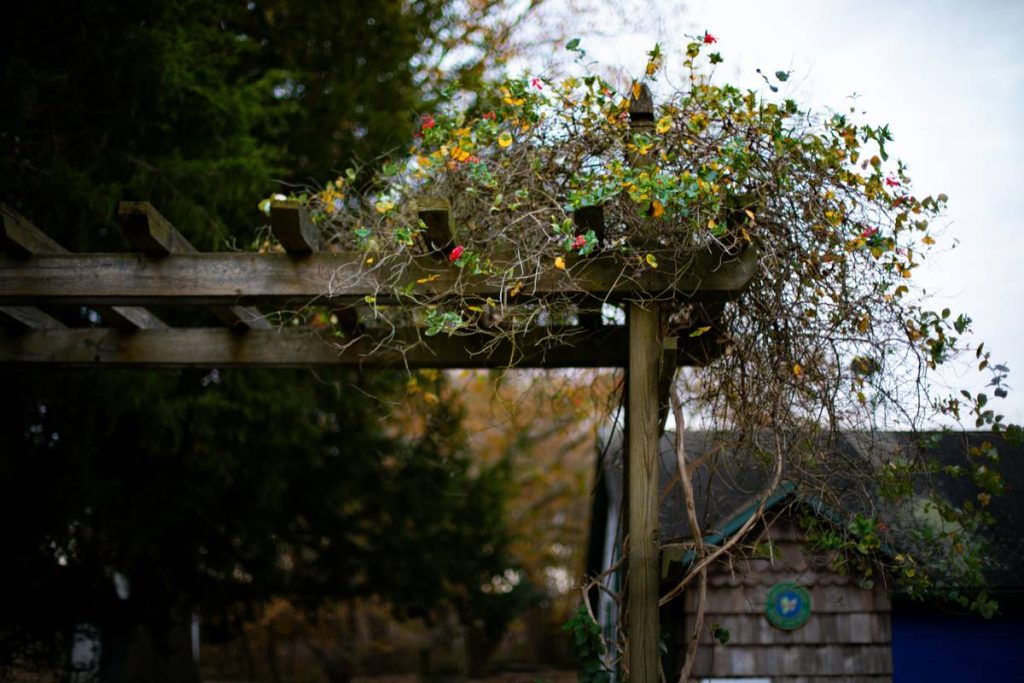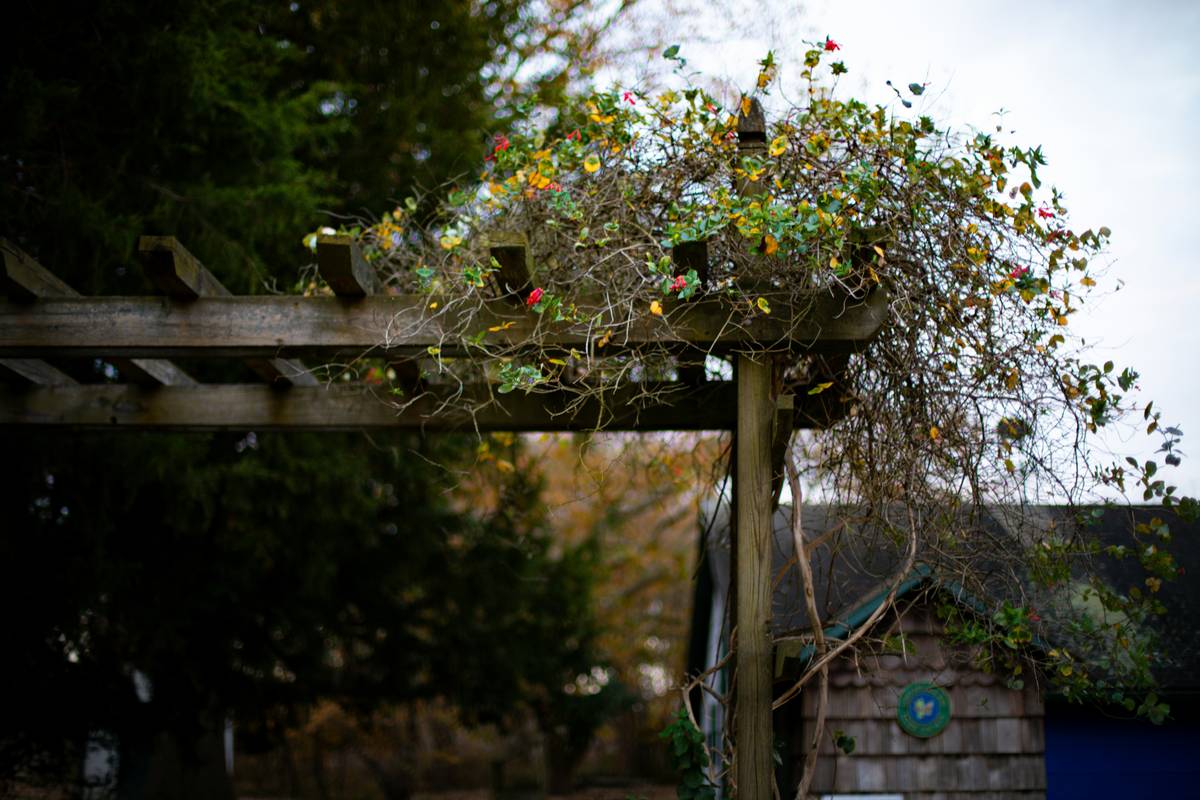
Ever stared at your bare backyard and wished for a shaded oasis—without the headache of hiring contractors or deciphering cryptic assembly manuals? You’re not alone. Many homeowners dive into outdoor projects only to abandon them halfway through, defeated by warped wood, misaligned brackets, or wind that turns their “dream pergola” into a wobbling hazard. If you’re new to pergolas but craving that perfect blend of style and function for your dining area, this guide cuts through the noise. We’ll walk you through everything you need to know about choosing, assembling, and styling an easy pergola for beginners—so you spend less time troubleshooting and more time enjoying dinner under dappled sunlight.
Table of Contents
- Why Pergolas Matter in Home Improvement
- Your Step-by-Step Setup Plan
- Top Best Practices for Lasting Results
- Real Homes, Real Results
- Frequently Asked Questions
Key Takeaways
- Start with pre-fabricated kits—they reduce errors and save time.
- Always anchor your pergola to a solid foundation (concrete footings > patio pavers).
- Choose rot-resistant materials like cedar or powder-coated aluminum.
- Avoid “cheap” vinyl kits that warp in heat—they’re false economy.
- Integrate lighting and climbing plants early for instant ambiance.
Why Pergolas Matter in Home Improvement
Pergolas aren’t just decorative—they’re strategic investments. According to the National Association of Realtors’ 2023 Remodeling Impact Report, adding outdoor living features like pergolas can recover up to 68% of project costs at resale. More importantly, they define usable space in sprawling yards, transforming ambiguous patches of grass into intimate dining zones.
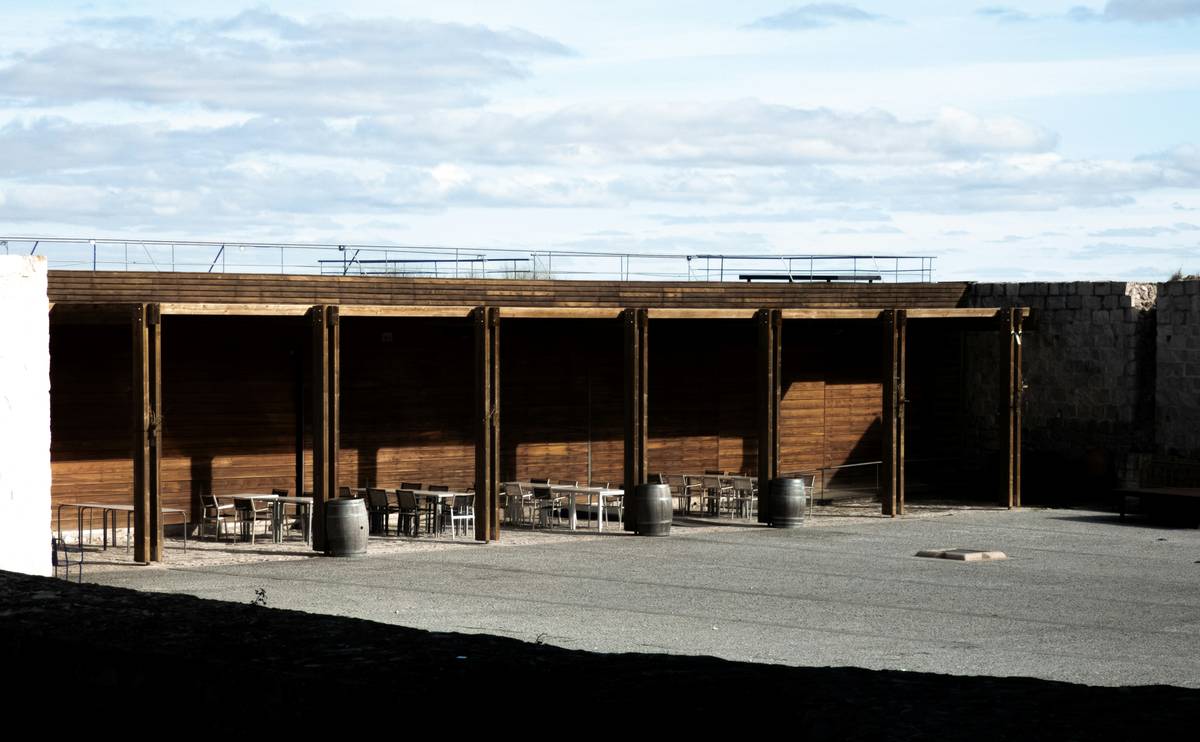
I learned this lesson the hard way. My first attempt used a bargain-bin kit from a big-box store. I skipped checking local wind codes (oops), assumed my deck could support the weight (double oops), and ended up with a lopsided frame after one summer storm. Don’t be like me—plan before you pound that first post.
Your Step-by-Step Setup Plan
1. Measure Twice, Order Once
Sketch your space. Note sun patterns (use apps like Sun Surveyor) and overhead obstructions. Most beginner-friendly kits fit standard 10×10 or 12×12 foot footprints—perfect for 4–6 person dining sets.
2. Secure Permits & Check Codes
Yes, even simple pergolas may need approval. Contact your local building department; many U.S. municipalities require permits for structures over 200 sq. ft. or taller than 10 feet (FEMA’s Building Science guidelines offer clarity on wind-load standards).
3. Prep the Foundation
Concrete footings are non-negotiable for stability. Dig holes at least 24 inches deep (below frost line in cold climates) and use post anchors—not just bolts into decking.
4. Assemble in Stages
Lay beams flat on sawhorses first. Pre-drill holes to prevent splitting. Use galvanized hardware throughout. Enlist a friend—holding rafters level solo is nearly impossible.
Top Best Practices for Lasting Results
- Material Matters: Cedar lasts 15+ years untreated; pressure-treated pine needs sealing but costs less.
- Mind the Gaps: Space slats 8–12 inches apart for ideal shade-to-sun balance.
- Go Green: Train jasmine or clematis vines along beams—natural cooling + privacy.
- Avoid This Terrible Tip: “Just screw it into your existing patio.” Unless it’s structural concrete, it won’t hold. Trust us.
And please—stop buying those flimsy “pop-up” pergolas marketed on social media. They look chic in photos but collapse under rain or light wind. Real durability beats Instagram aesthetics every time.
Real Homes, Real Results
A client in Austin, TX installed our recommended 10×10 cedar kit from a reputable outdoor brand (anchored in concrete). Paired with weather-resistant wicker chairs and solar string lights, their setup cost $1,200 and took two weekends. Within six months, they hosted three family dinners and reported zero maintenance issues—even during 100°F summers. Compare that to neighbors who spent $3,500 on custom builds… only to discover drainage flaws causing rot. Simplicity, done right, wins.
For deeper insights, see the University of Florida’s guide on durable outdoor structures, which confirms wood species and anchoring methods significantly impact longevity.
Frequently Asked Questions
Can I install an easy pergola for beginners on a composite deck?
Only if you anchor posts through the decking into structural joists below—and ideally add concrete footings. Never rely on surface mounting alone.
How much does a beginner-friendly pergola cost?
Kits range from $600–$1,800. Factor in $100–$200 for concrete and hardware. Avoid anything under $500—it’s likely too flimsy.
Do I need to stain or seal it?
Cedar and redwood resist decay naturally but will gray over time. Seal every 2–3 years if you prefer the original color.
Can I add a canopy later?
Yes! Many kits support retractable shades or outdoor fabric panels—just confirm beam strength first.
Ready to build your stress-free outdoor retreat? At Chale Grove Properties, we’ve helped dozens of homeowners navigate pergola projects—from material selection to zoning compliance. Learn more about our commitment to quality craftsmanship on our About Us page. Have specific questions? Reach out anytime via our Contact Us form. And rest assured—we never share your details, as outlined in our strict Privacy Policy.
Remember: the best pergola isn’t the fanciest—it’s the one that stands tall through seasons, invites slow mornings, and makes every meal feel like a getaway. Now go claim your slice of sky.